
Welcome to Reprolife, your trusted partner for cutting-edge reproductive solutions. Explore our exclusive Cryotec product line, specifically designed to empower embryologists' work in oocyte and embryo vitrification and warming.


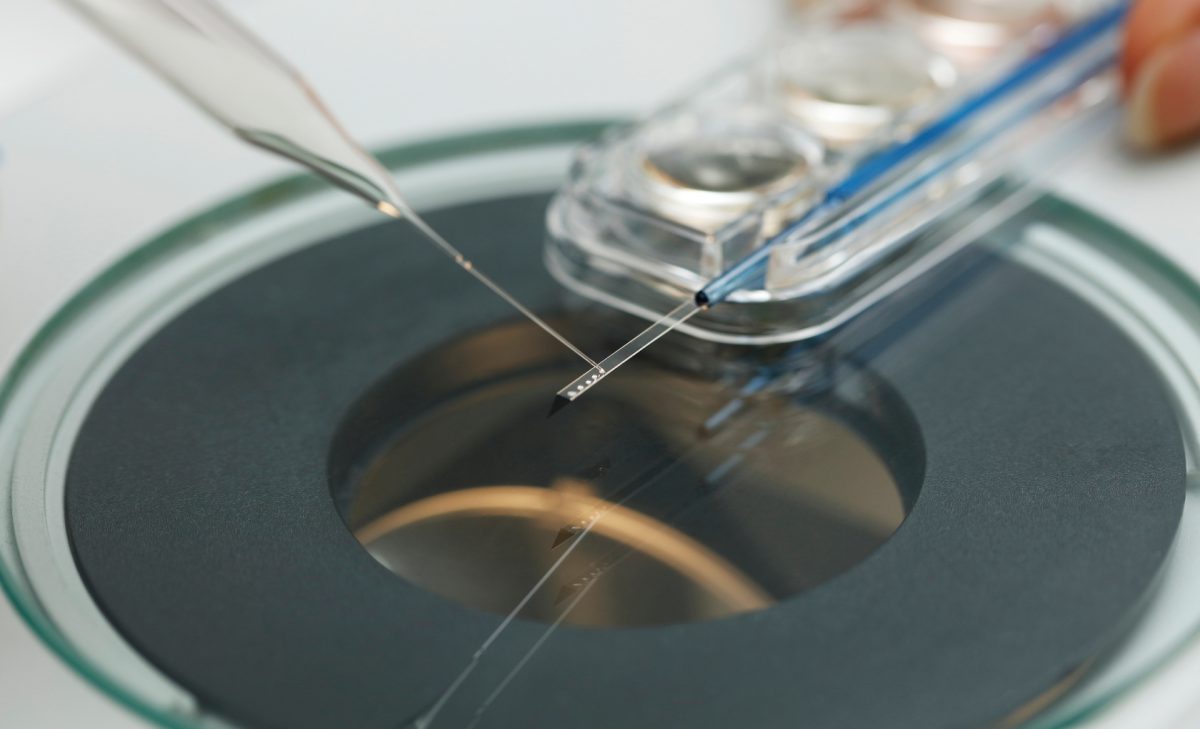
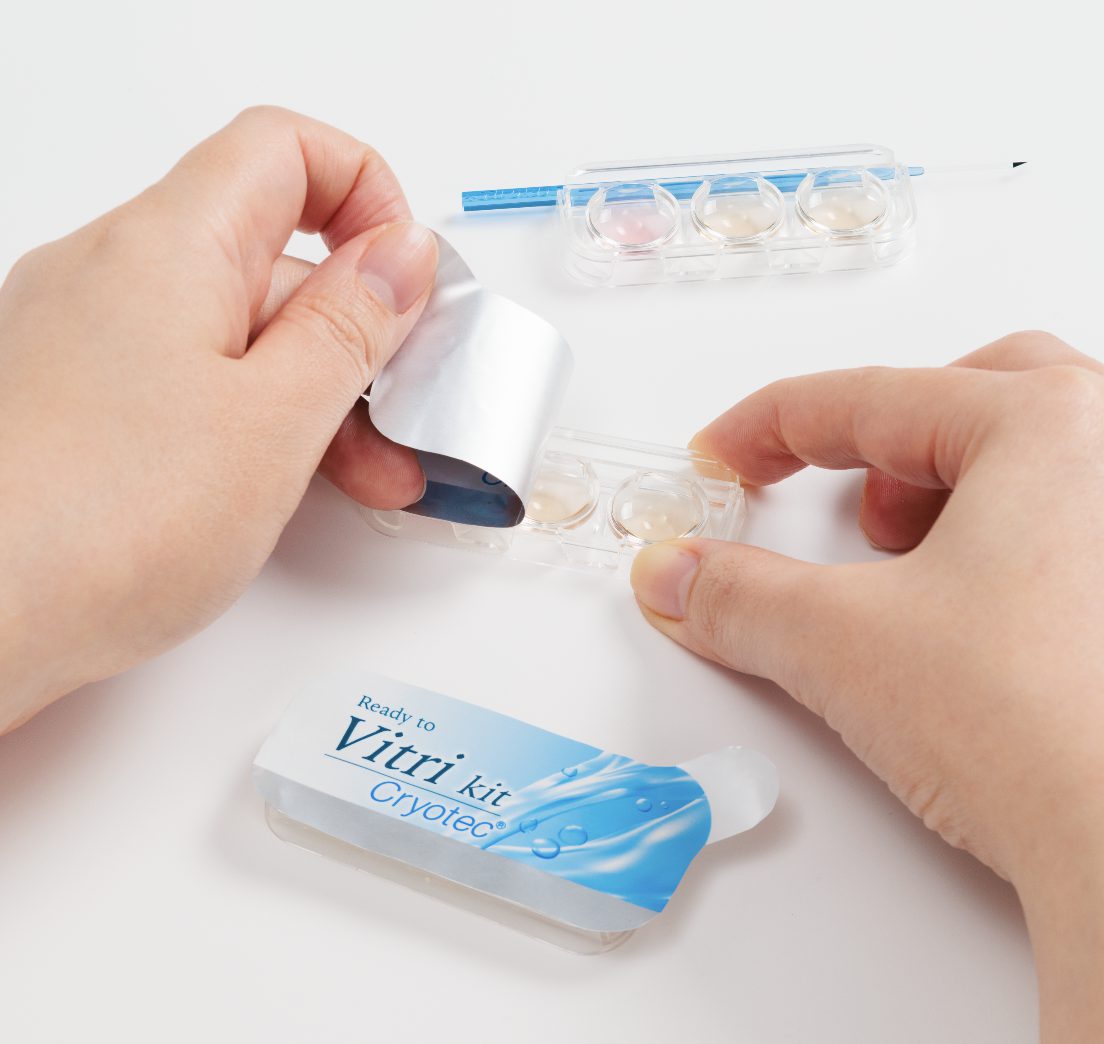
Cryotec is an innovative method and product line developed by Dr. Masashige Kuwayama and REPROLIFE Inc. for the vitrification and warming of oocytes and embryos. It features simplified protocols, embryologist-friendly product designs, and focuses on achieving high survival rates in cryopreservation.


The Cryotec Method is a simple and safe technique for vitrification and warming that can be applied to the cells of any stage, using a unified protocol that leads to outstanding success rates in oocyte preservation, while consistently delivering exceptional outcomes with embryos.

thanks to its low toxicity, each step can be carefully observed and confirmed before proceeding.

this means that oocytes and embryos of all stages can be treated using the same protocol, leading to greater efficiency and convenience.

Cryotec is a safe and effective method even for lower-grade oocytes and embryos that would be difficult to vitrify using traditional methods.

Cryotec can be used to safely vitrify and warm oocytes and embryos that are sensitive due to the patient's age, constitution, or medical conditions.

in oocyte preservation, empowering women through pre-emptive oocyte freezing, including those facing infertility due to cancer treatment
We have obtained clinical performance data for Cryotec Ready to Use (RtU) from nine fertility treatment centers across Japan. The participating centers are located in Kanagawa, Chiba, Tokyo, Iwate, Miyagi, Aichi, Hokkaido, Yamaguchi, and Gifu prefectures. The data is based on 456 embryos that were vitrified and thawed using the Cryotec RtU kit.
This chart demonstrates that after the centers transitioned from other products to Cryotec RtU, they achieved pregnancy rates with at least equivalent results in gestational sac pregnancy.
Dr. Masashige Kuwayama - Innovator in Assisted Reproductive Technology (ART), has revolutionized cryopreservation in ART.
His advancements in solution composition, device design, and simplified protocols significantly improve success rates for oocytes and embryos. Recognizing the need for safer oocyte cryopreservation, Dr. Kuwayama provides opportunities for women facing age-related infertility and those undergoing cancer treatment. His unwavering dedication drives innovation for high survival rates and stress-free vitrification for embryologists.
You can inquire about practical training on the Cryotec method, entering into the Challenge 100, free online workshops, and requests for COA (Certificate of Analysis) by filling out the contact form.